Do the field visit, part 2: rooms to the report
Record sections 10 to 18 of the initial property investigation (rooms, outside, foundation, systems, wrap-up and review), then make the report preview. About 30 minutes on site.
Watch it (2:19, no sound)
- Sections 1 to 9 done (see Do the field visit, part 1).
- Your moisture meter and, if you use them, a thermometer/hygrometer and camera.
Step by step
1List the rooms
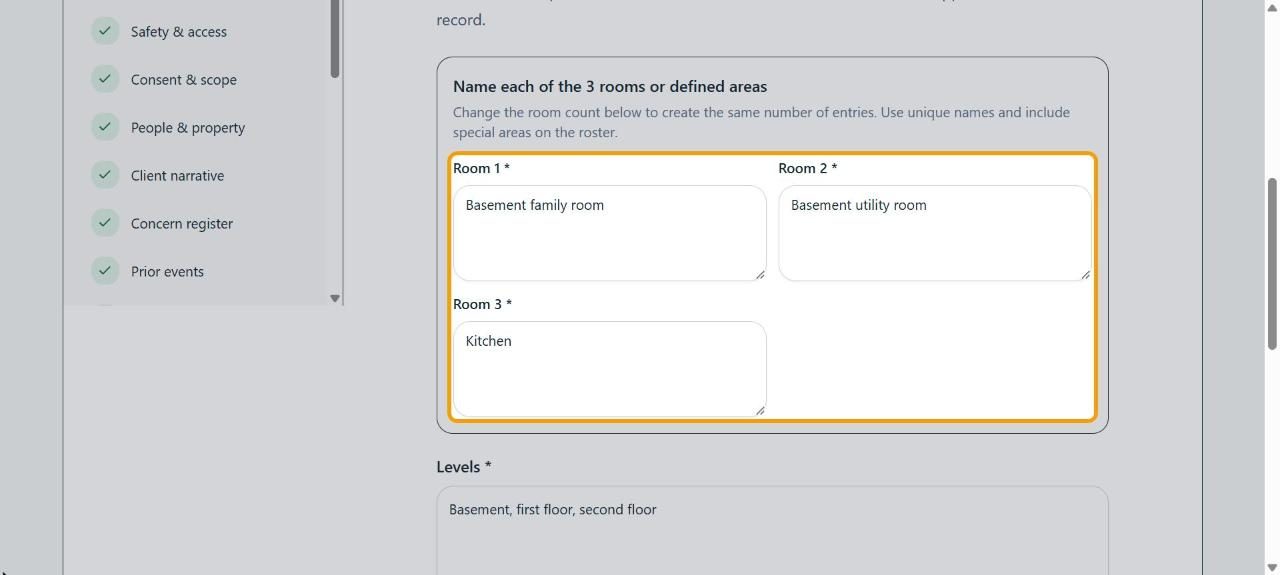
In Sketch & rooms, fill in Levels, then type the number of rooms or areas in Room count. That many boxes appear: give each room a unique name (include closets, the attic and other special areas). Add the Exterior elevations and any Access exception.
2Check every room
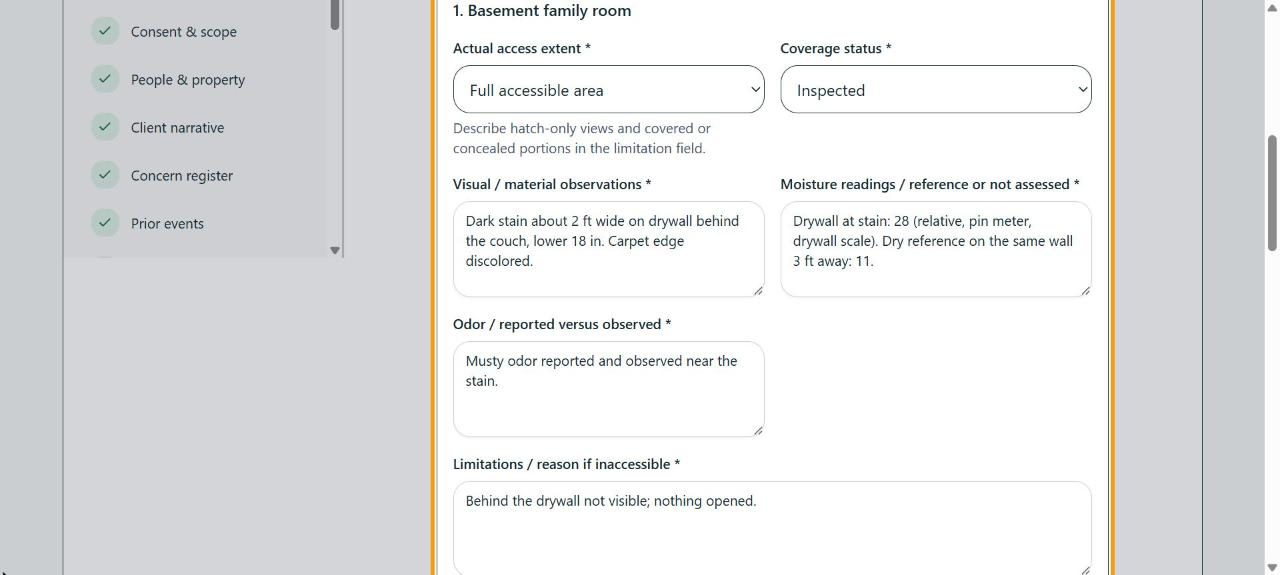
Room validation shows one card per room. For each, choose Actual access extent and Coverage status, then describe what you saw, your Moisture readings / reference or not assessed, any odor, and what you couldn't see under Limitations / reason if inaccessible.
Tip: Write readings with the meter, mode and a dry reference reading, for example "28 (relative, pin meter); dry reference 11".
3Walk the outside
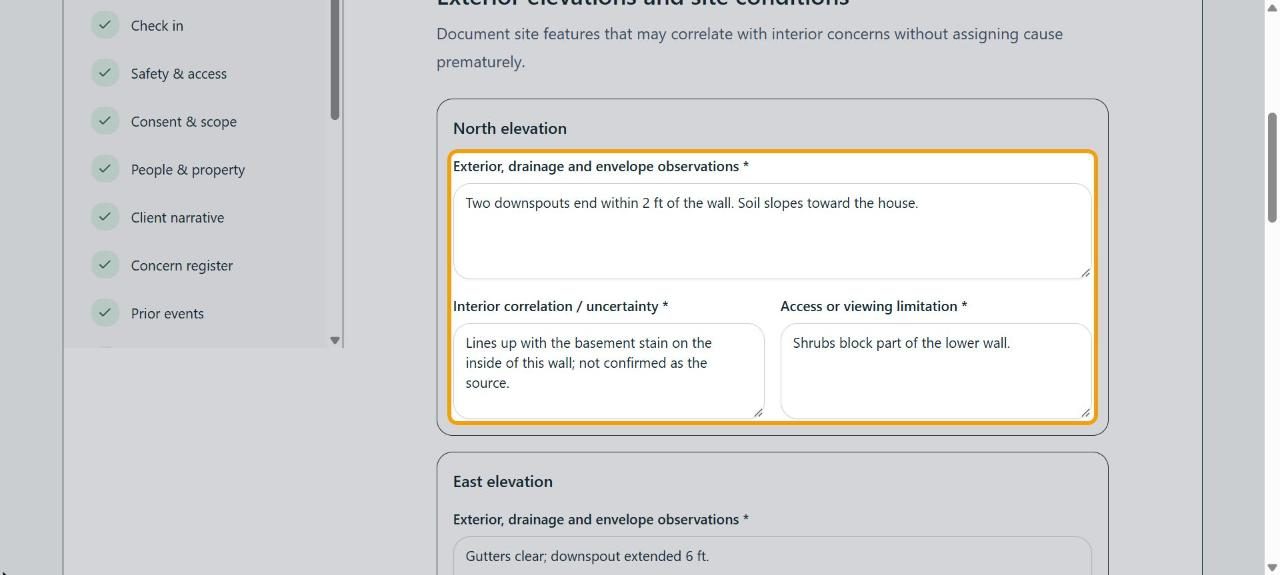
In Exterior & site, each side of the house has a card. Describe what you see, how it may line up with an inside concern (without naming a cause), and anything blocking your view. Then fill in weather, foundation and drainage at the bottom.
4Foundation and below grade
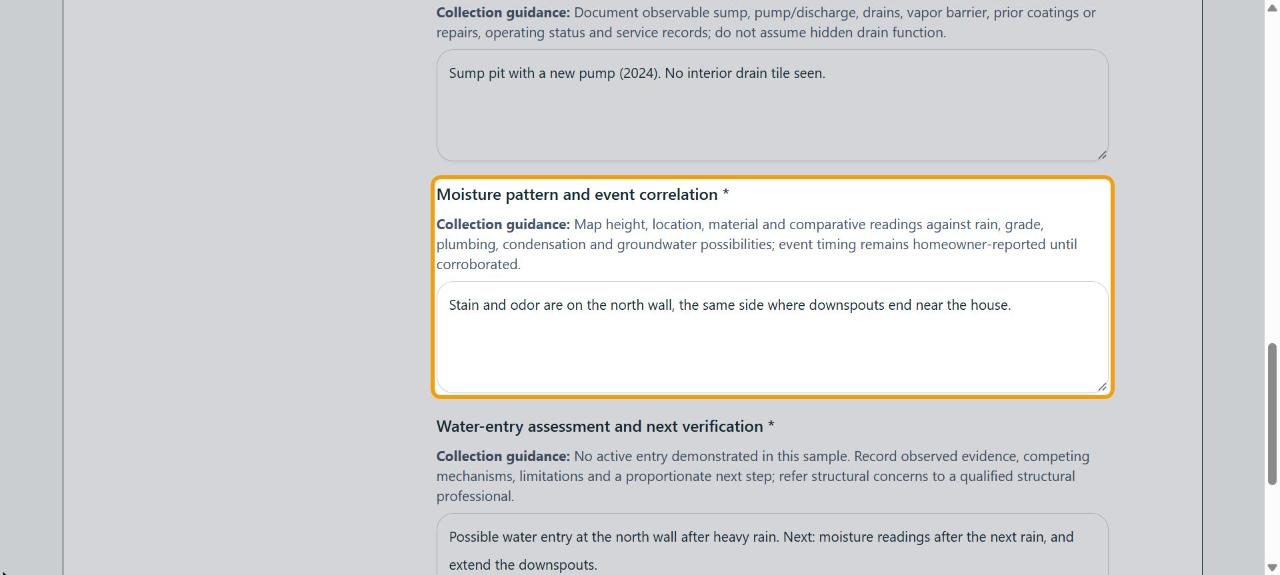
In Foundation & below grade, describe the foundation, crawlspace (or why there isn't one), drainage and the moisture pattern. Each box has Collection guidance above it saying what belongs there.
5Special areas and systems
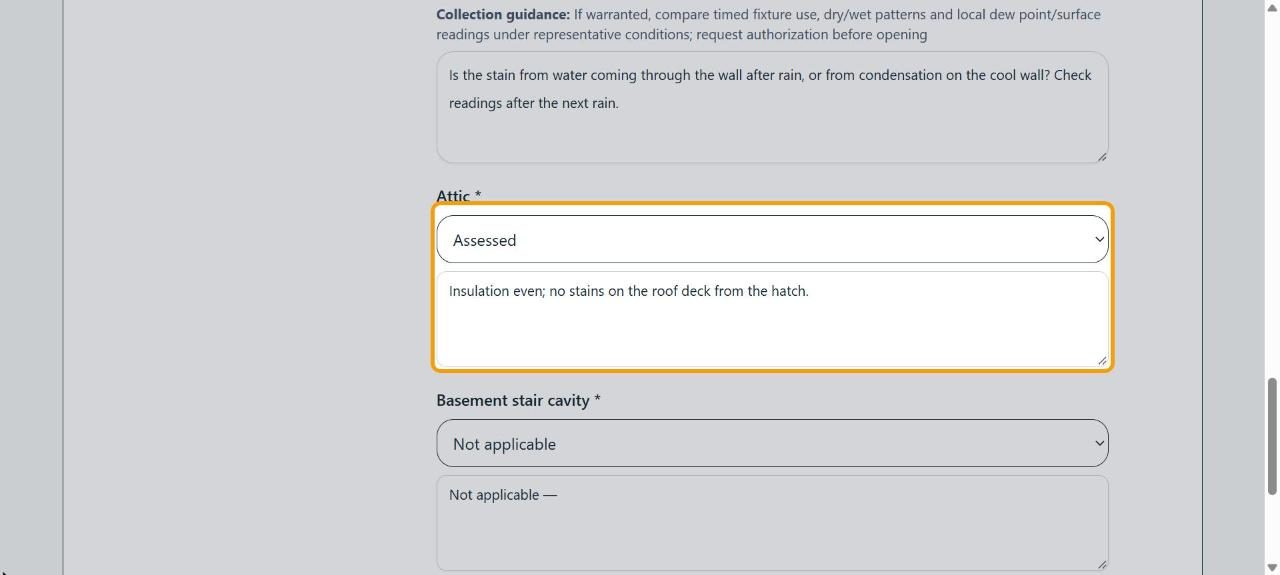
In Special areas, cover HVAC, Plumbing, pipe routes, air and surface readings, and condensation. For Attic and Basement stair cavity, choose Assessed, Not applicable or Not in scope and write a reason in the box below.
6Wrap up on site
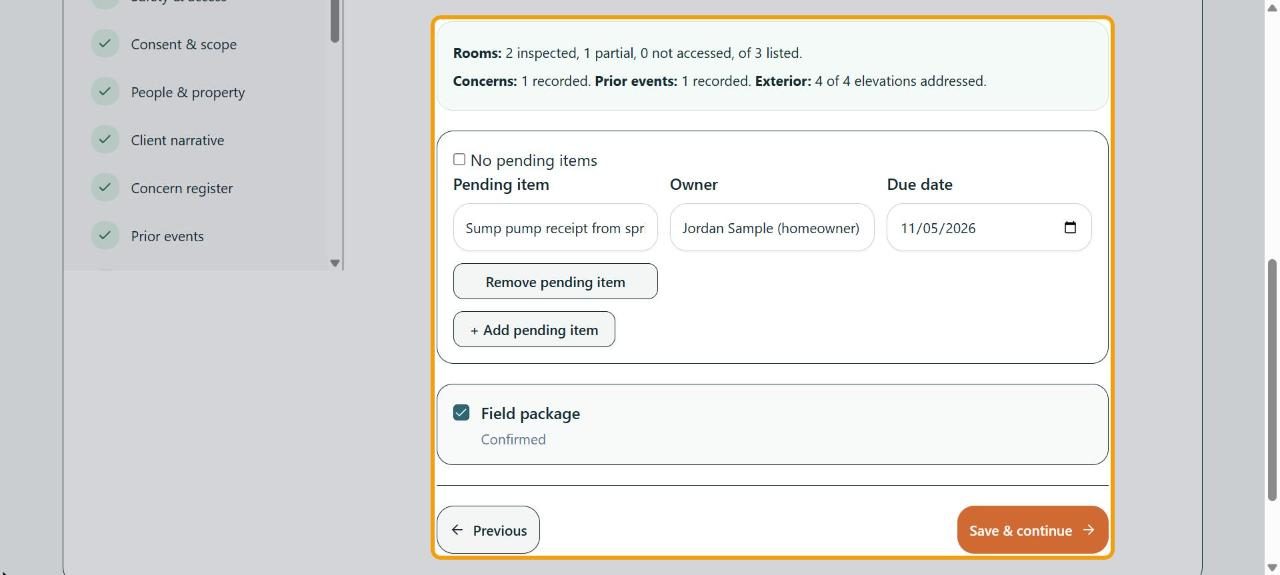
Completion counts your rooms, concerns, events and elevations. Add anything still owed with + Add pending item (who and by when), or tick No pending items. Then tick Field package.
7Choose the next step
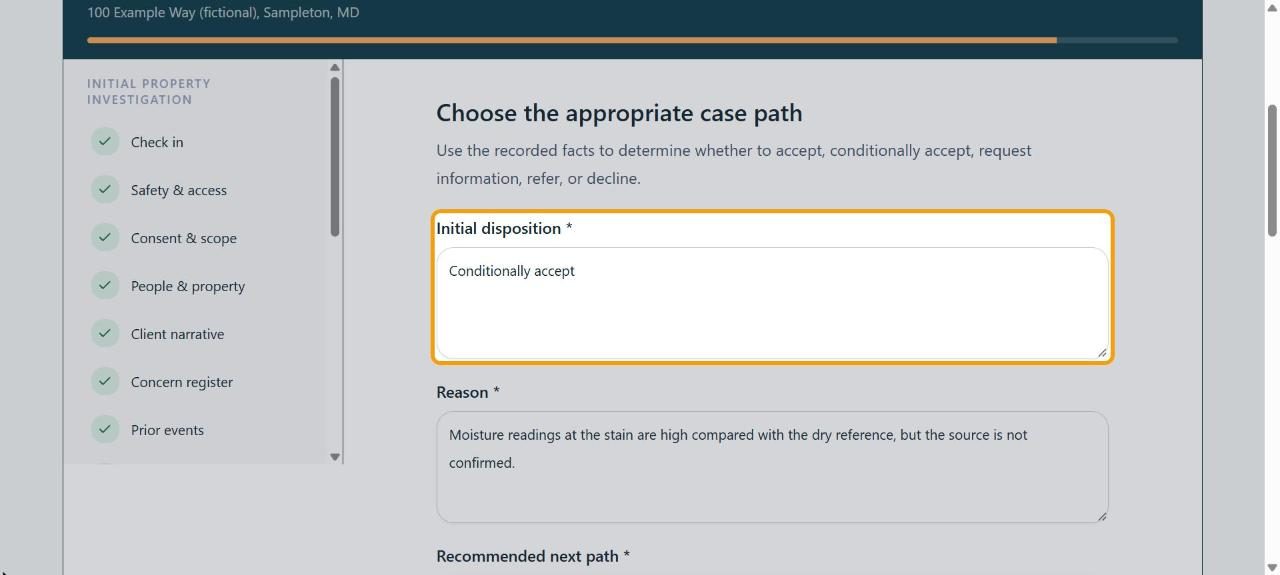
In Case suitability, record the Initial disposition, the Reason and the Recommended next path. Pick a Remediation recommendation, or Not determined at Initial Property Investigation if it's too early.
8Technical review
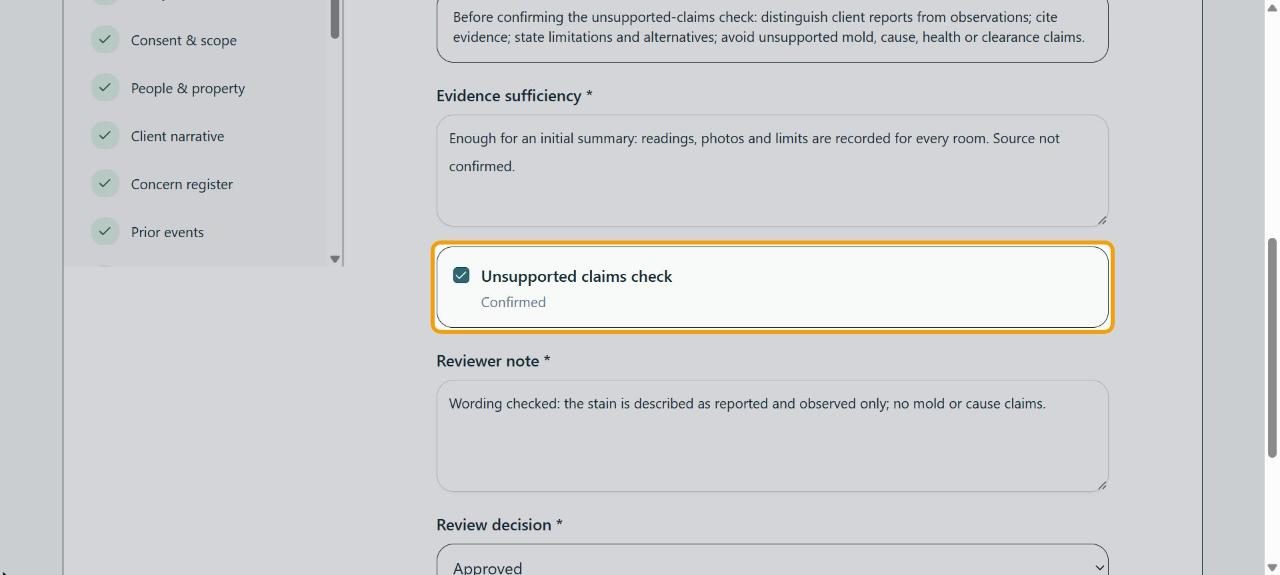
In Technical review, a reviewer fills in Evidence sufficiency, ticks Unsupported claims check after checking the wording, writes a Reviewer note and picks a Review decision. The report needs Approved.
9Review the summary
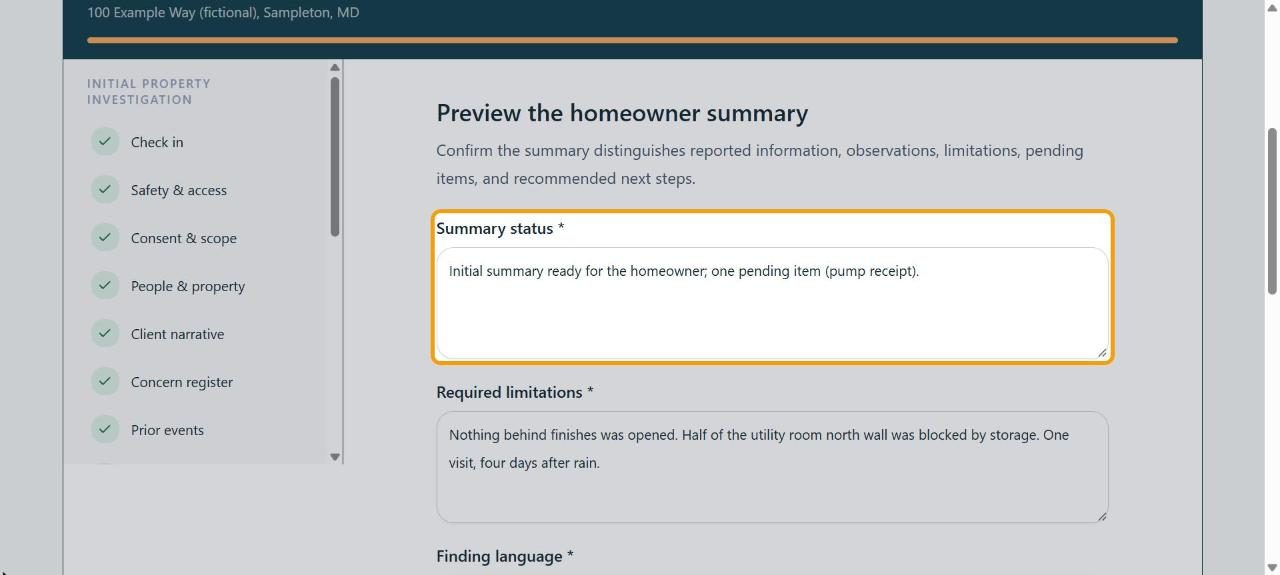
In Review & release, fill in Summary status, Required limitations and Finding language, and tick Release control.
10Make the report
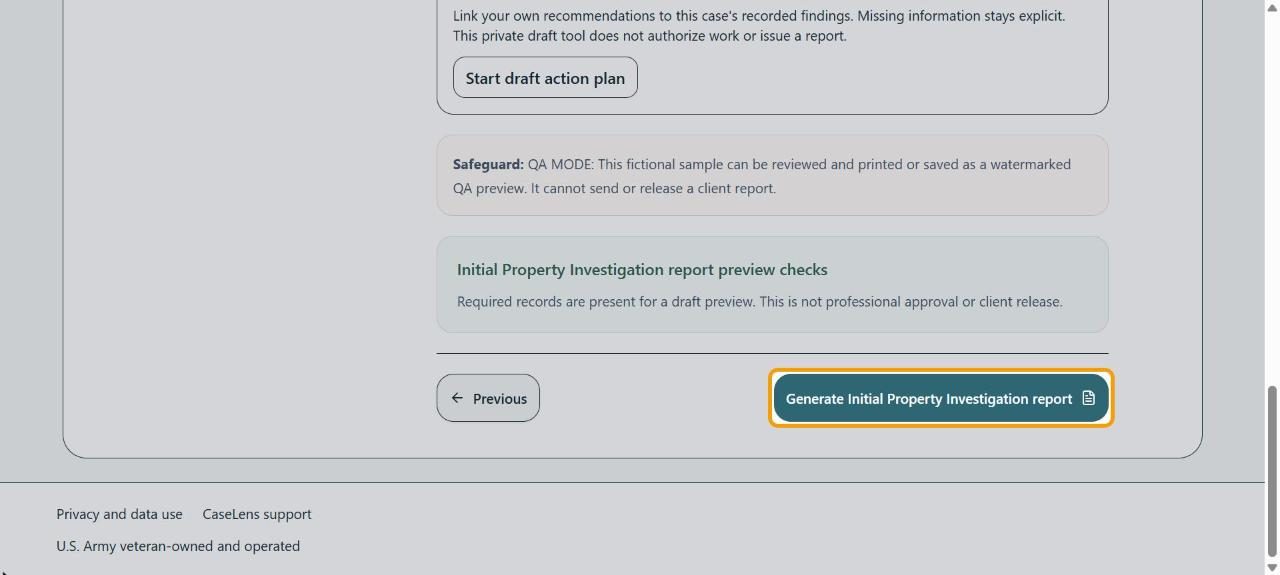
At the bottom, the Initial Property Investigation report preview checks box says Required records are present for a draft preview. when everything's in. Click Generate Initial Property Investigation report.
11Print or save it
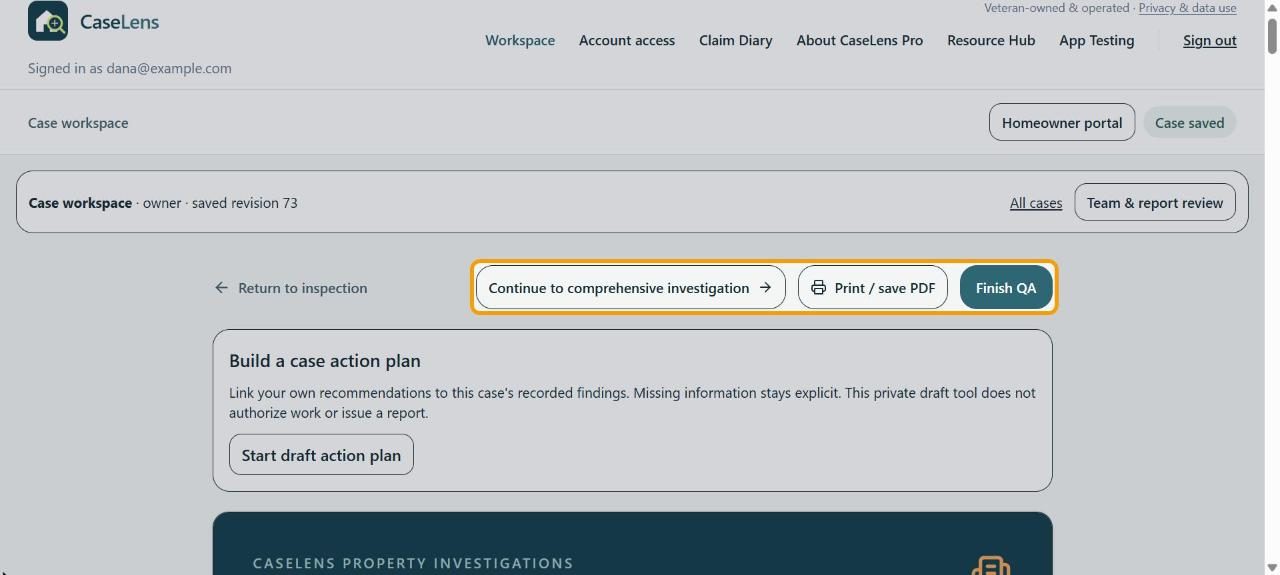
The report opens. Click Print / save PDF to keep a copy. Return to inspection takes you back to fix anything. During the pilot, the report is marked QA DEMO · NOT FOR RELEASE and can't be sent to a client.
If something goes wrong
- Generate Initial Property Investigation report is greyed out
- Something is missing. Check that every section in the left list has a tick, Review decision is Approved, and in Documents & media every kind of evidence has a status (with a reason or a date requested where asked).
- "Enter the room count and names in Sketch & rooms first."
- Room validation needs the room list. Go to Sketch & rooms, set Room count and name every room.
- A required box was left with "test" or the sample wording
- Placeholder words like "test" or "ddd" don't count. Write what you found, or what limited you.