Start a new inspection case
Create a case for a new customer in the inspector workspace: who they are, the property, what they're worried about, and the appointment. About 5 minutes.
Watch it (1:35, no sound)
- You're signed in on caselensapp.com (top right shows Signed in as and your email).
- From the customer: name, the person who can sign for the work, email, phone, the property address, what they're worried about and when it started.
- The appointment date and time, and anything about access (door codes, pets, things in the way).
Step by step
1Open the workspace
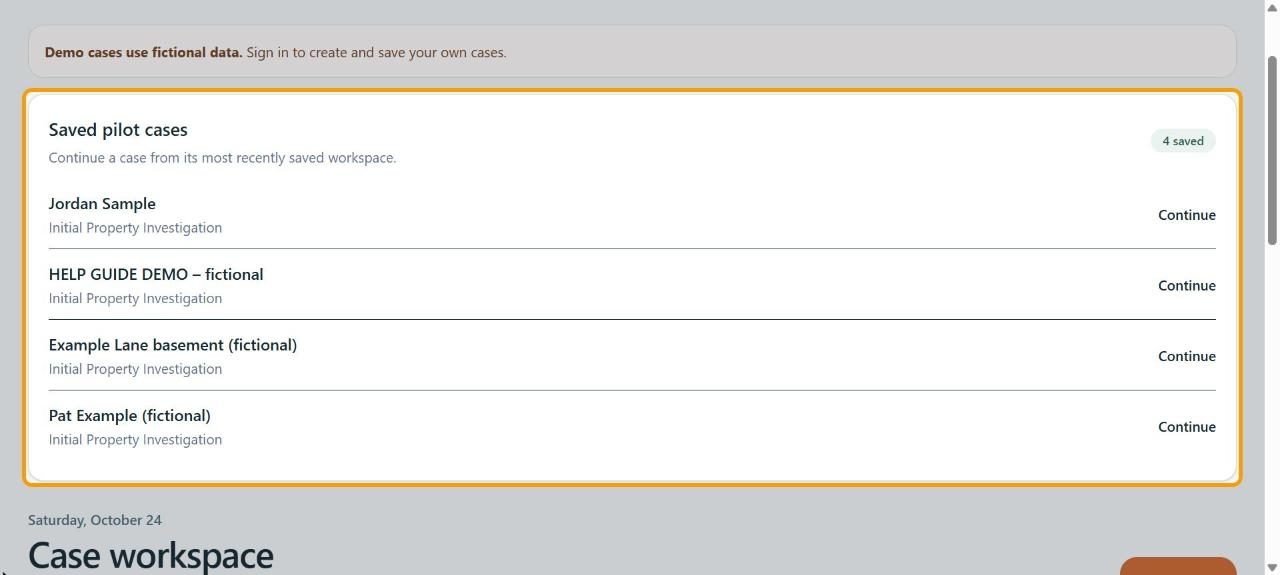
Click Workspace at the top. Cases you've already started are listed under Saved pilot cases; click Continue next to one to pick up where you left off.
2Click New case
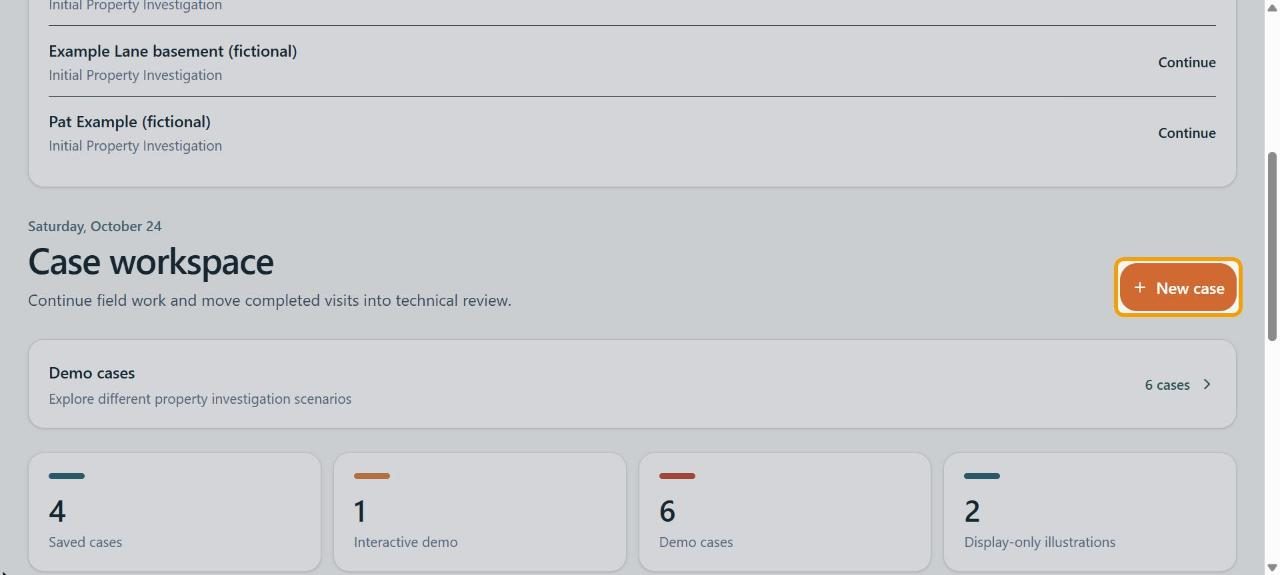
Scroll down to Case workspace and click New case. A five-step walkthrough opens: Customer, Property, Concern, Access and Review.
3Enter the customer
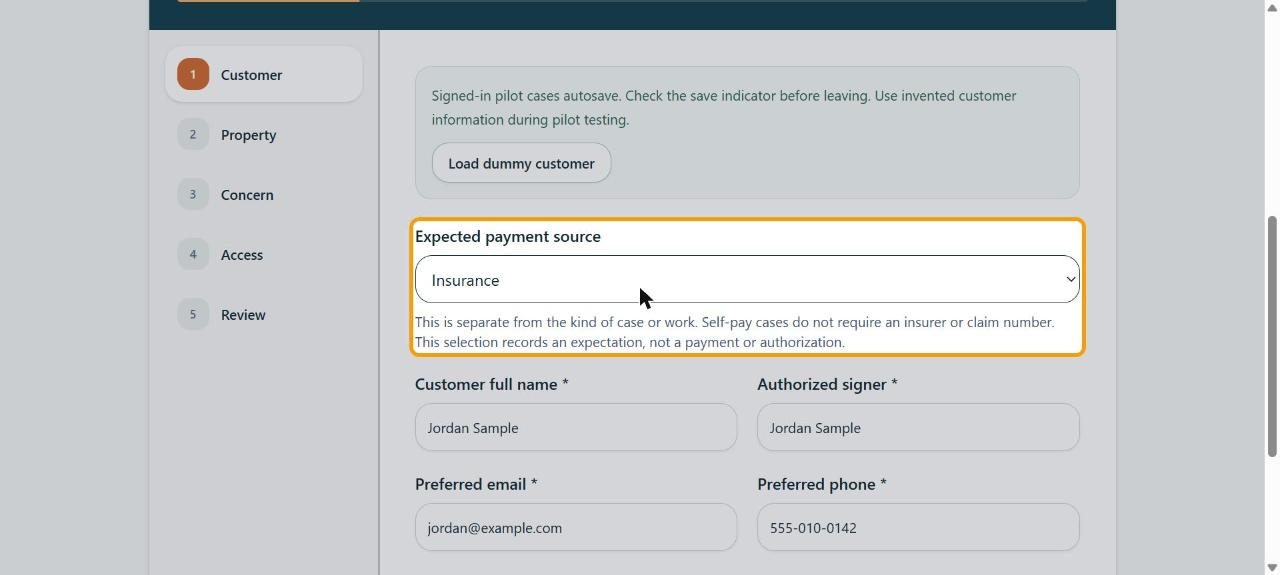
Pick the Expected payment source (choose Unknown / not yet decided if you don't know yet; self-pay cases don't need an insurer). Fill in Customer full name, Authorized signer, Preferred email and Preferred phone, then click Save & continue.
4Enter the property
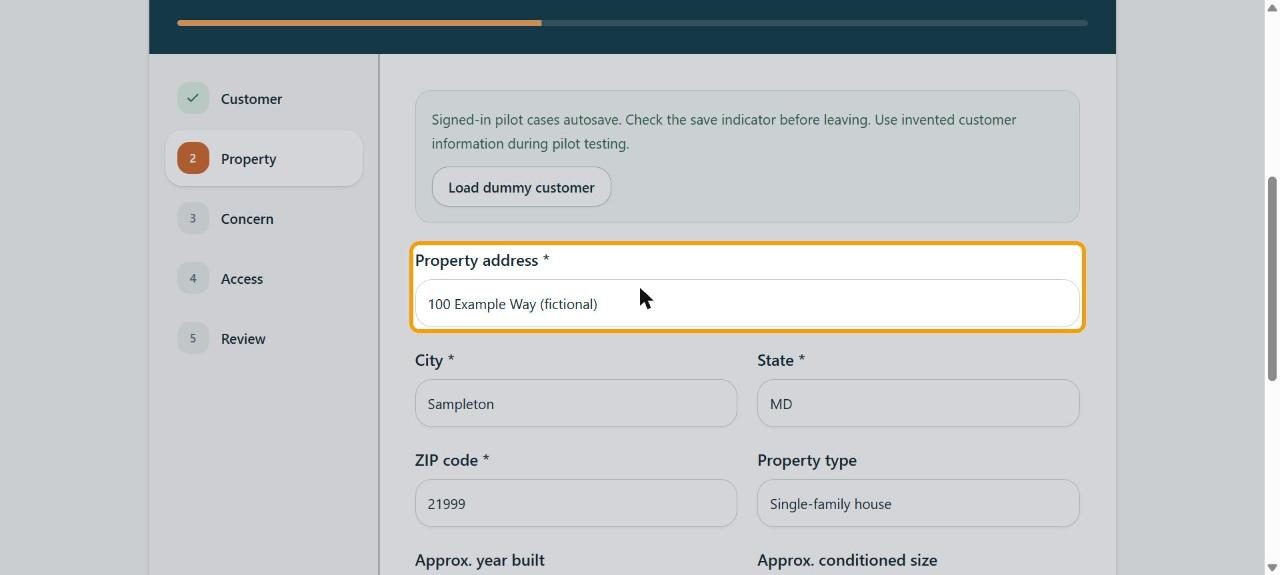
Type the Property address, City, State and ZIP code. If suggestions pop up under the address, pick yours or keep typing. Add the Property type, Approx. year built, Approx. conditioned size, Occupancy and any pets, then click Save & continue.
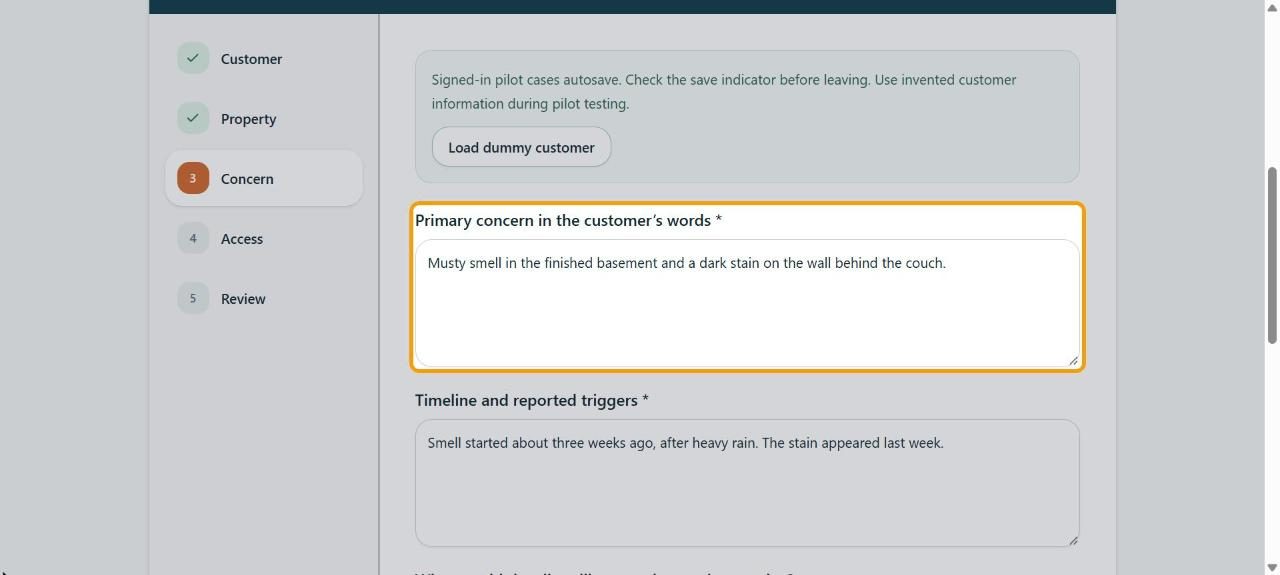
5Write down the concern
In Primary concern in the customer's words, write what they told you, in their words. Fill in Timeline and reported triggers and What would the client like to understand or resolve?, then click Save & continue.
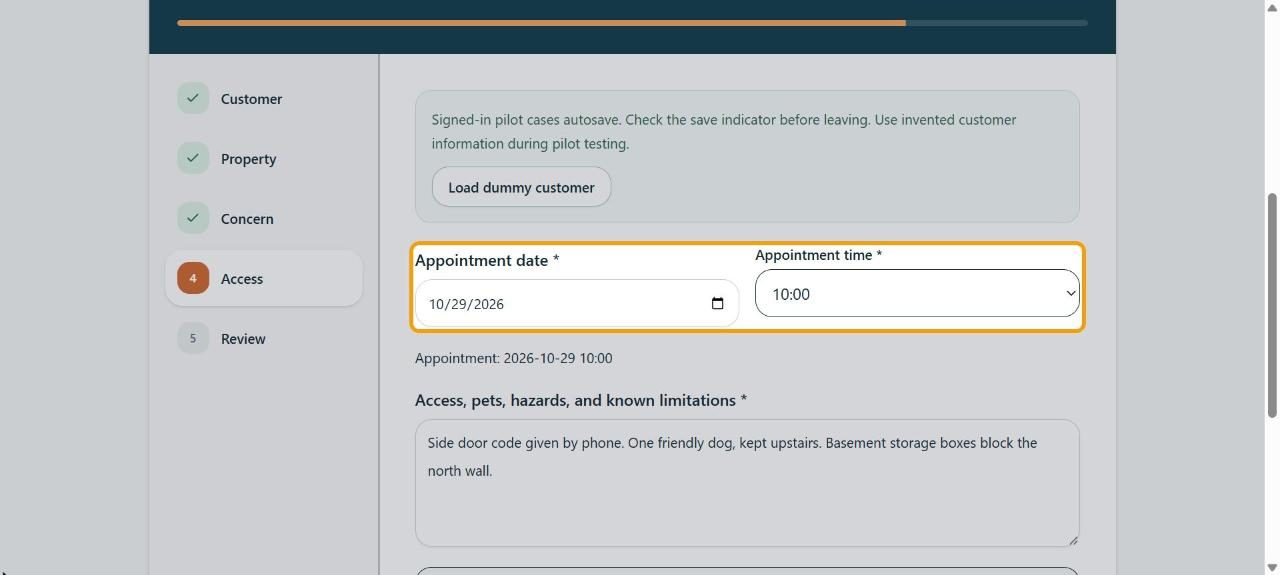
6Set the appointment
Pick the Appointment date and Appointment time. In Access, pets, hazards, and known limitations, note anything the visit needs to plan for. Click Save & continue.
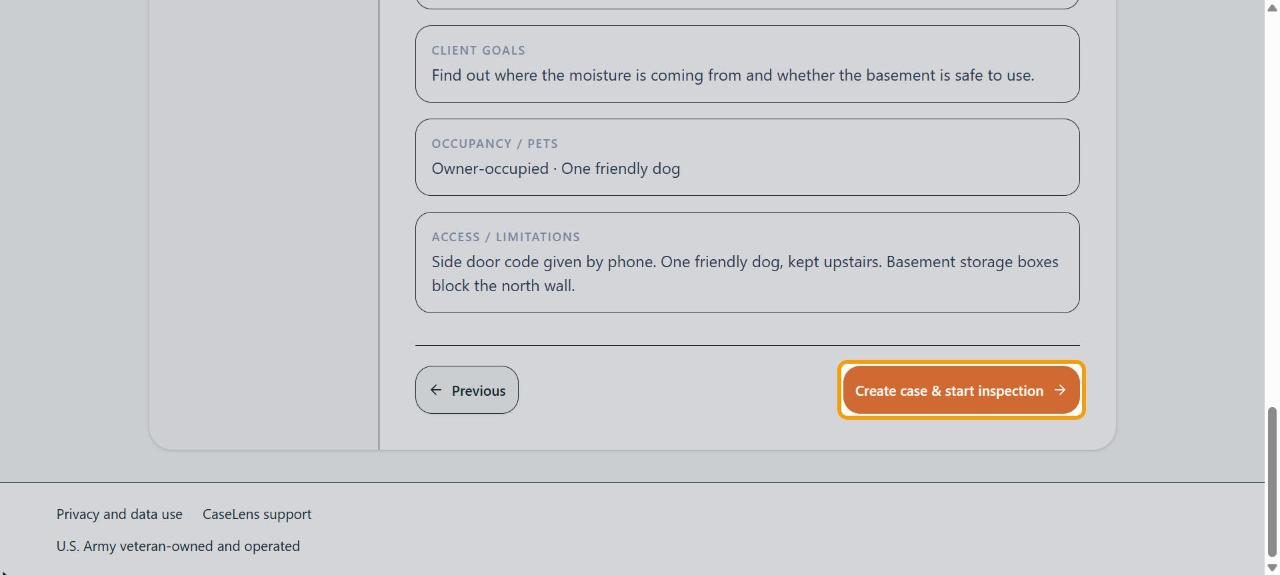
7Review and create
Check everything on Review the new case. Click Previous to fix anything. When it's right, click Create case & start inspection.
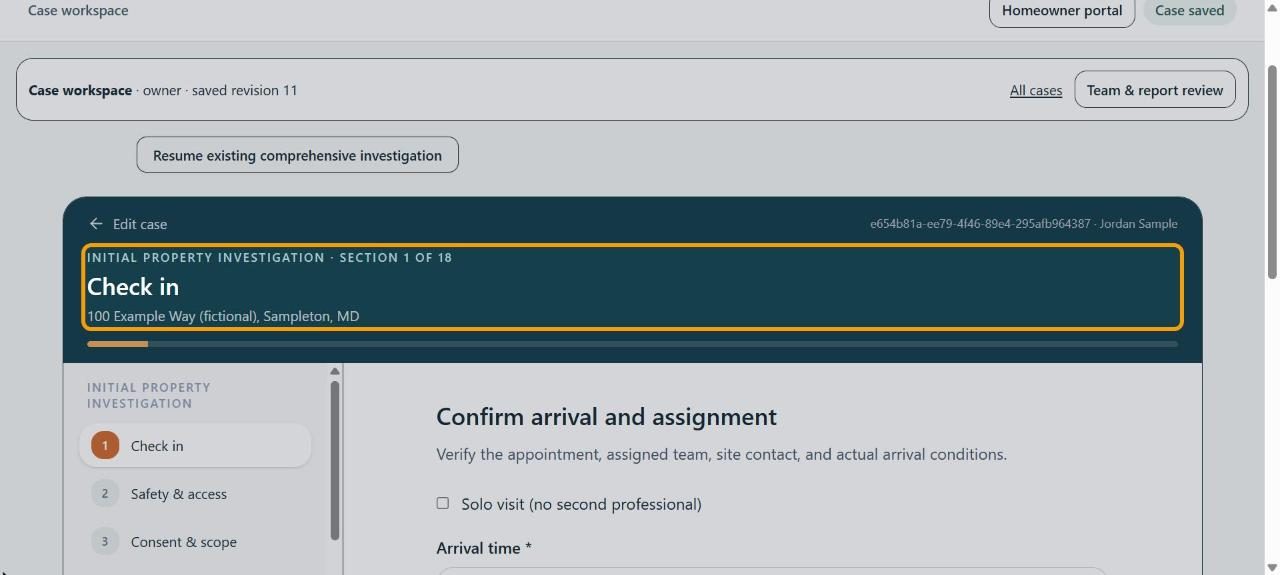
8The field visit is ready
The case opens at Section 1 of 18 of the Initial Property Investigation, with the address at the top. The list on the left shows all 18 sections. The case saves as you go: check that the top right says Case saved before you close the page.
Tip: Next: follow Do the field visit, part 1 when you're on site.
If something goes wrong
- "Complete the required fields or load the dummy customer to continue."
- A box marked with * is empty. Fill it in, then click Save & continue again. (Load dummy customer fills in a made-up customer for practice only; don't use it for a real case.)
- I closed the page halfway through
- Signed-in cases save automatically. Go to Workspace and click Continue next to the case under Saved pilot cases.
- I started a case by mistake
- Click Cancel new case at the top of the walkthrough.