Do the field visit, part 1: arrival to property profile
Record sections 1 to 9 of the initial property investigation on site: check-in, safety, permissions, people, the customer's story, concerns, history, documents and the building. About 20 minutes on site.
Watch it (2:13, no sound)
- A case already created (see Start a new inspection case), open on a laptop or tablet at the property.
- The customer there to confirm permissions and their account of the problem.
- Any links to the customer's photos or records (Google Drive, Dropbox, OneDrive, CompanyCam or another https link).
Step by step
1Check in
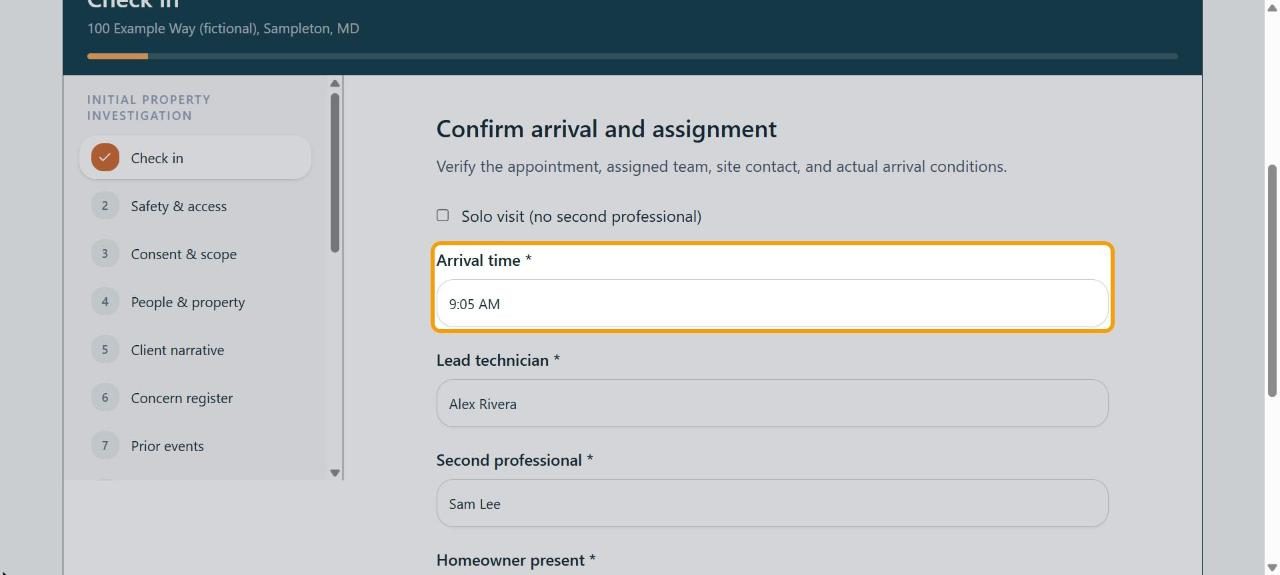
In Check in, fill in Arrival time, Lead technician, Second professional (or tick Solo visit (no second professional)), Homeowner present and Visit date. Click Save & continue at the bottom of each section to move on.
2Screen for safety
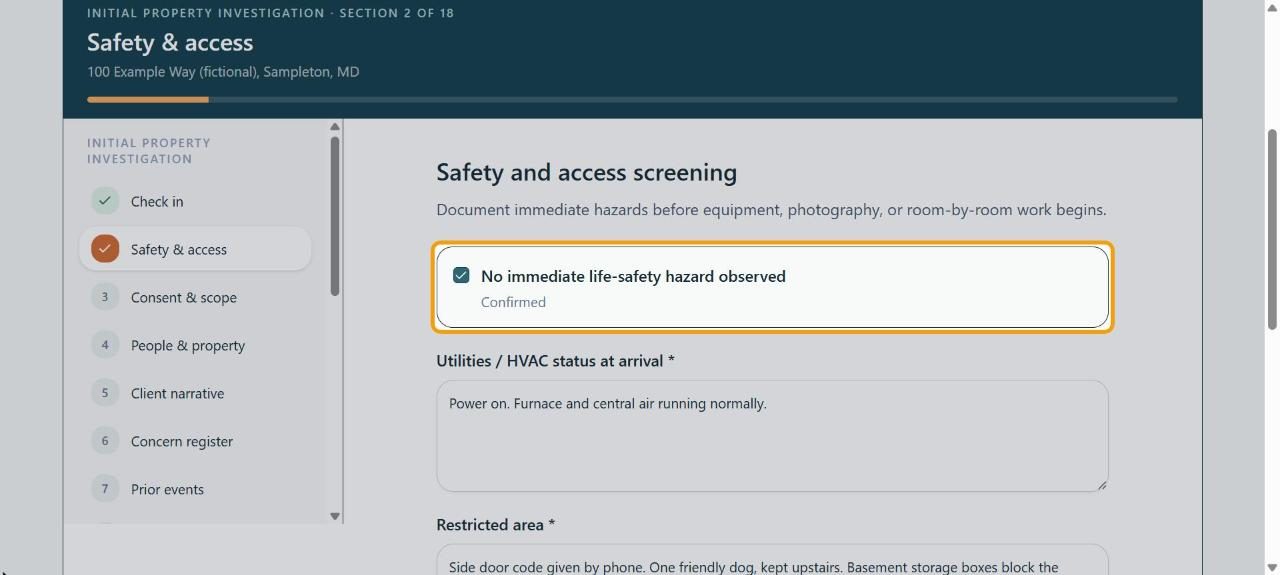
In Safety & access, tick No immediate life-safety hazard observed only if that's true. Describe Utilities / HVAC status at arrival and any Restricted area (write "None" if there isn't one).
3Confirm permissions
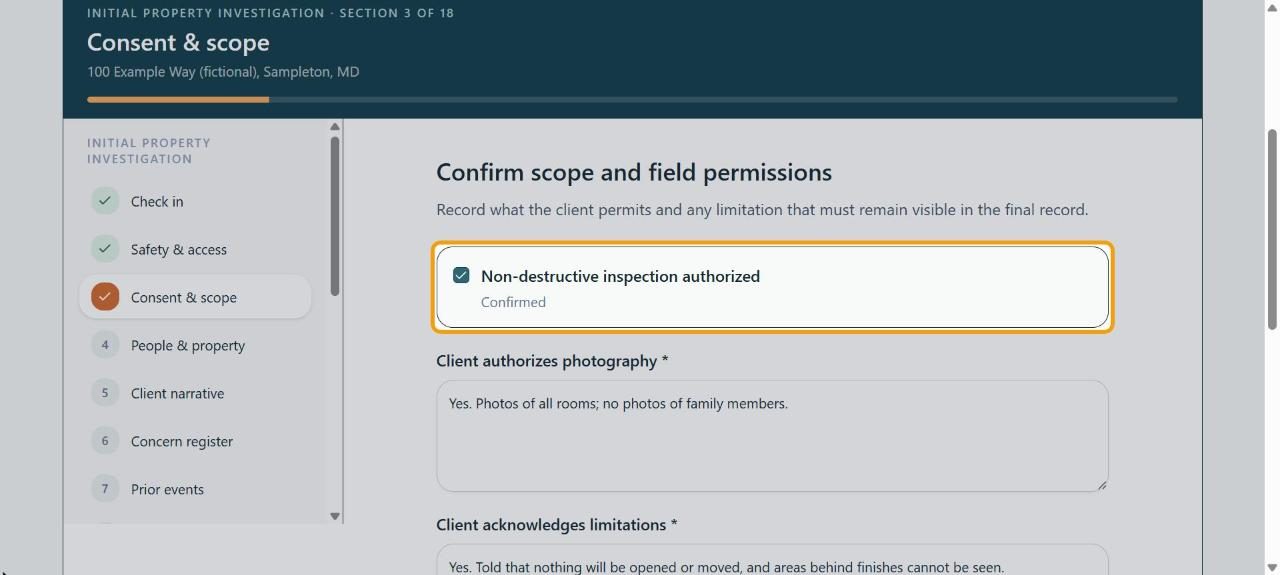
In Consent & scope, tick Non-destructive inspection authorized once the customer agrees. Record what they allow under Client authorizes photography and Client acknowledges limitations, with their name and the date.
4Check people and property
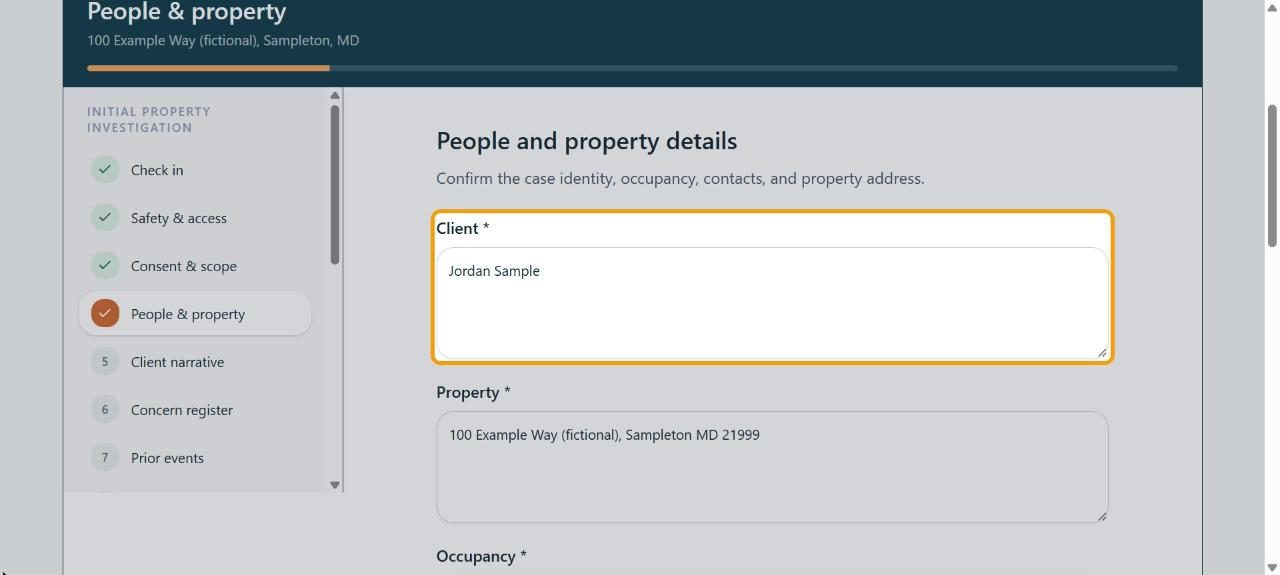
People & property is filled in from the new case. Correct anything that changed and tick how they want to be contacted (Call, Text or Email).
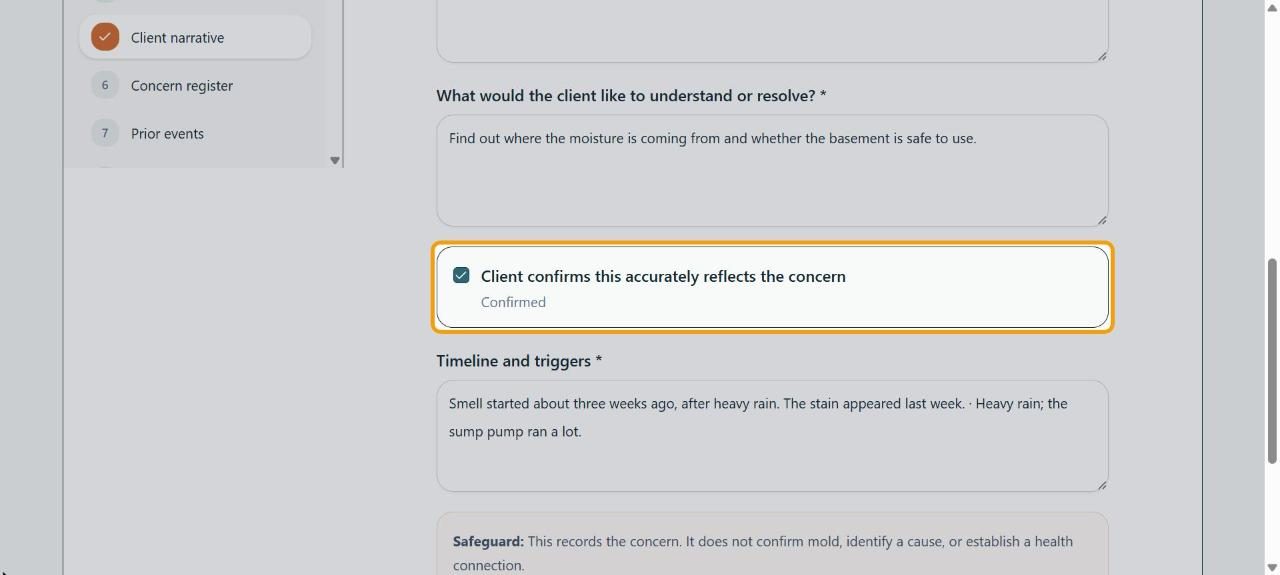
5Record their story
Client narrative starts with what you entered for the new case. Read it back to the customer, edit it if needed, and tick Client confirms this accurately reflects the concern. This records what they report; it doesn't confirm mold or a cause.
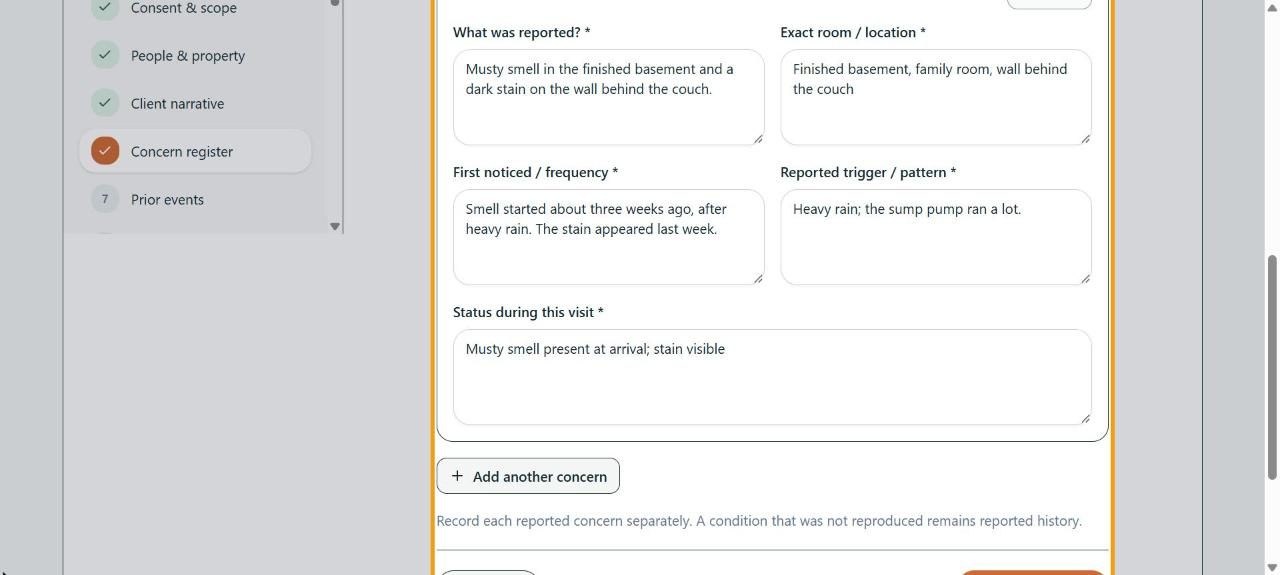
6List each concern
In Concern register, each concern gets its own card (CR-01, CR-02 …). Fill in What was reported?, Exact room / location, First noticed / frequency, Reported trigger / pattern and Status during this visit. Click Add another concern for each extra one.
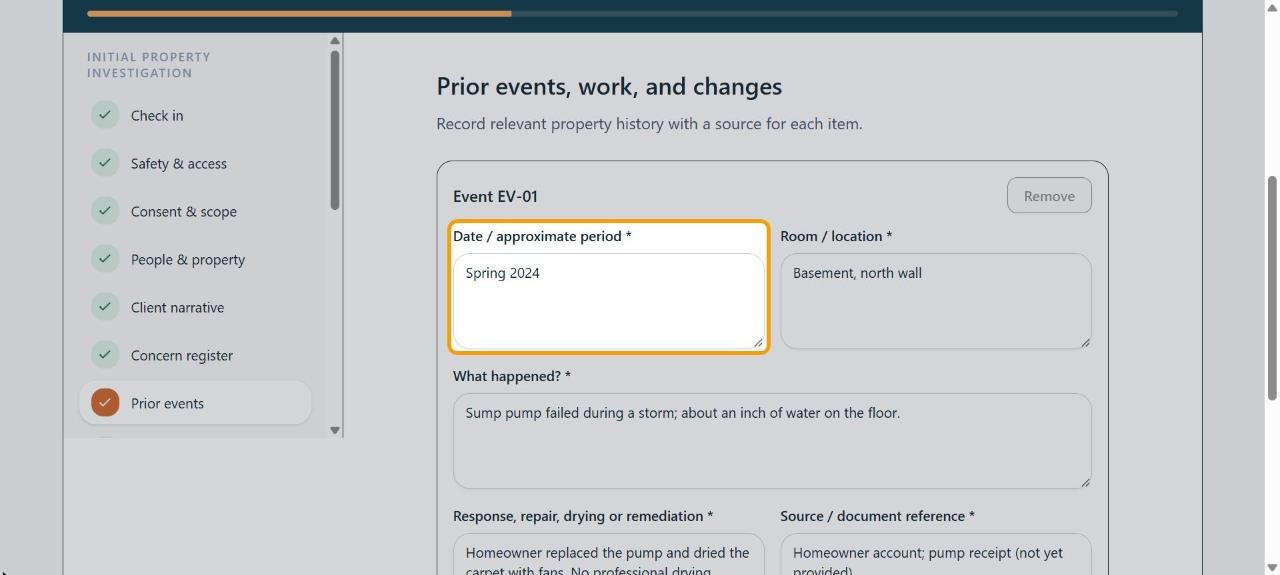
7Record past water events
In Prior events, add each earlier leak, flood or repair: Date / approximate period, Room / location, What happened?, how it was handled, and where the information came from (Source / document reference). Click Add another event for more.
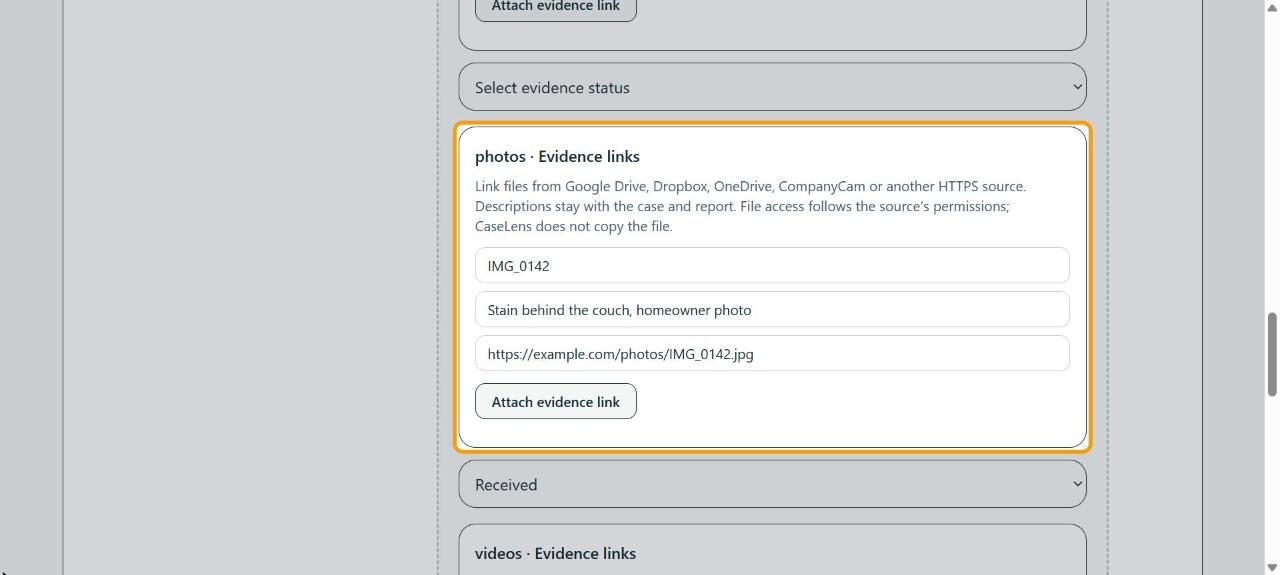
8Link documents and photos
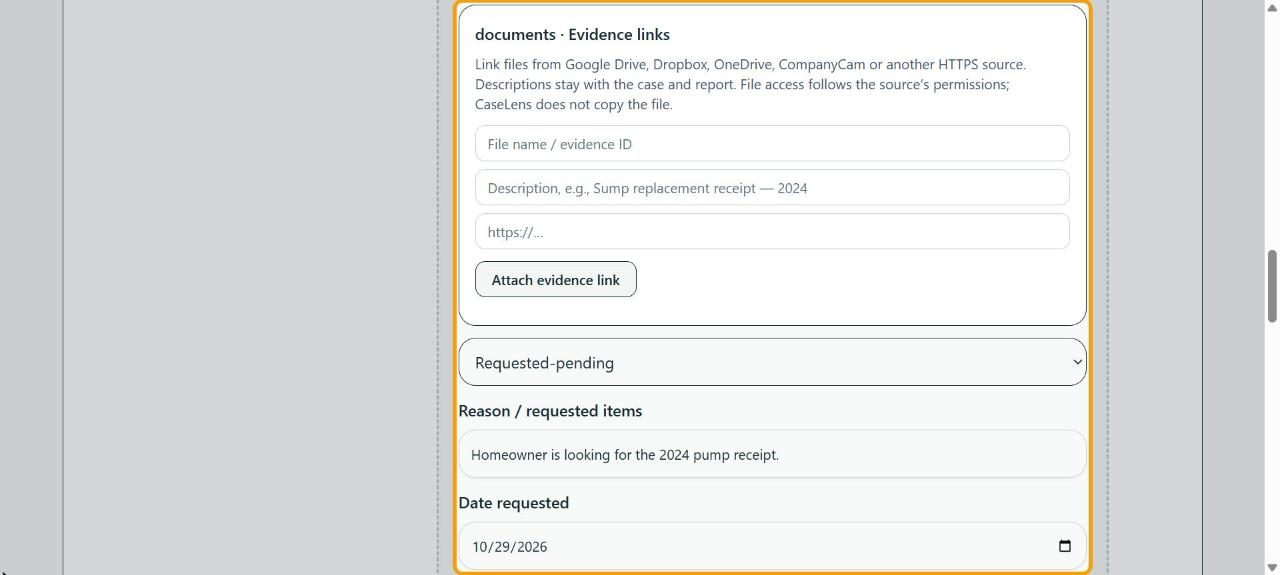
In Documents & media, describe what the customer has and what you'll take. For each file, type a File name / evidence ID, a description and the https link, then click Attach evidence link. CaseLens stores the link, not a copy of the file.
9Say what's missing
Under each kind of evidence (sketches, documents, photos, videos), pick a status: Received, Requested-pending or Not available. Requested-pending needs what you asked for and the Date requested; Not available needs a reason.
Tip: The report can't be made until every kind has a status, so set them now.
10Confirm the building
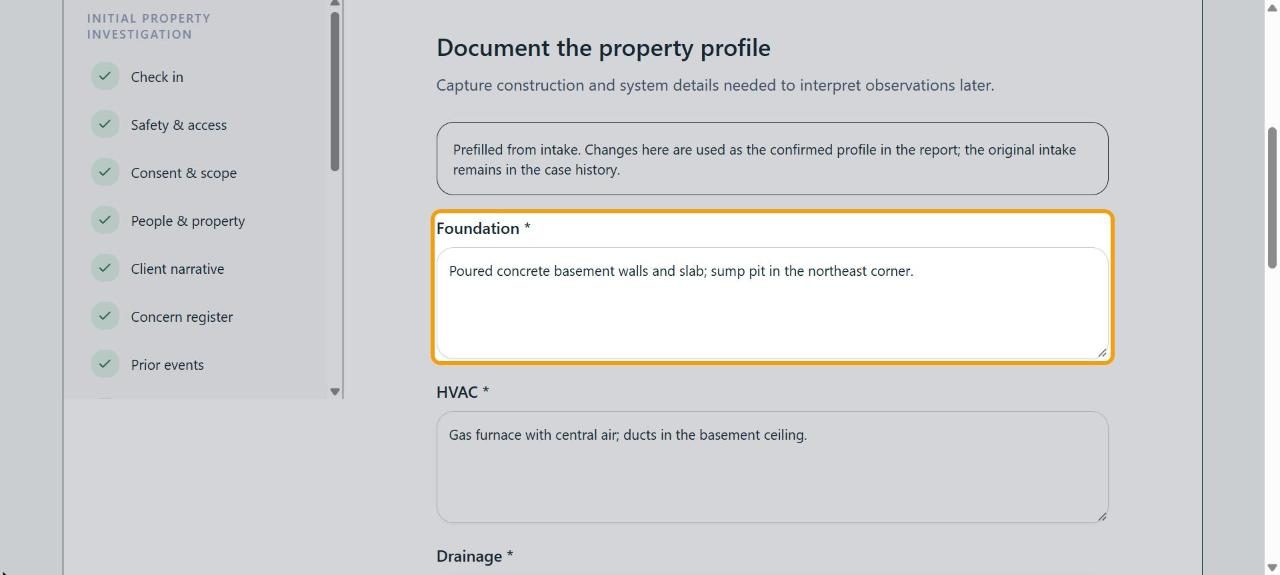
Property profile is filled in from the new case. Add Foundation, HVAC and Drainage and correct the rest. What you enter here is used in the report; the original stays in the case history.
Tip: Next: Do the field visit, part 2.
If something goes wrong
- "Complete each required field in this section before continuing."
- A box marked * in this section is empty, or a required tick box isn't ticked. Fill it in, or write "Not applicable" or "Unknown" with a short reason.
- "This link is already attached."
- That link is already in the list below the boxes. Clear the boxes, or attach a different link.
- I need to go back to an earlier section
- Click its name in the list on the left. Your entries are kept.